Creating My First AI Agent
It's not as complicated as it looks

We’ve all been hearing about AI A LOT for the past couple of years and I’m pretty sure some of you are quite sick of it (me included sometimes). Perhaps, some of you already tried the latest and coolest tools out there and thought that it’s enough, there’s nothing more to learn.
BUT.. you’re missing out!
So let’s dive in to creating my first AI agent and not using AI just with prompts. Because the other side is a lot more fun!
I’ll provide a short tutorial on the key basics on how to create your first AI agent. All of the more complex stuff, let’s leave it for now.
Send news article summaries to your Telegram account
We will be looking at running our first AI agent on our local machines.
Make sure you have Docker installed on your computer —> https://www.docker.com/products/docker-desktop/
Go to your terminal and input
docker volume create n8n_data

You should get n8n_data. If you do, that’s great, we can move onto the next step
Input the next command to start running your docker container
docker run -it --rm --name n8n -p 5678:5678 -v n8n_data:/home/node/.n8n docker.n8n.io/n8nio/n8n
When you first run this command, in the terminal you should see a question about images. Just press enter. And then afterwards we can see n8n running locally:
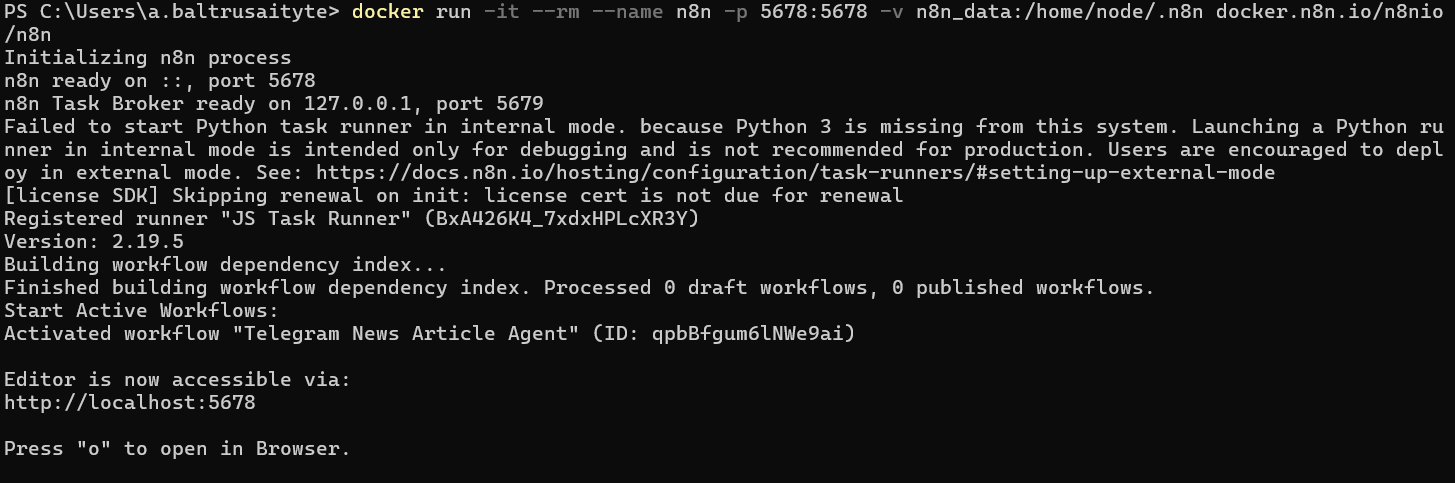
So go to this address http://localhost:5678
At first, you’ll be prompted to create a new account with n8n. Do that.
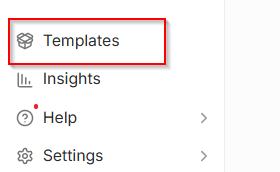
After you’re in, press on the templates section:
And select the Build your first AI agent template
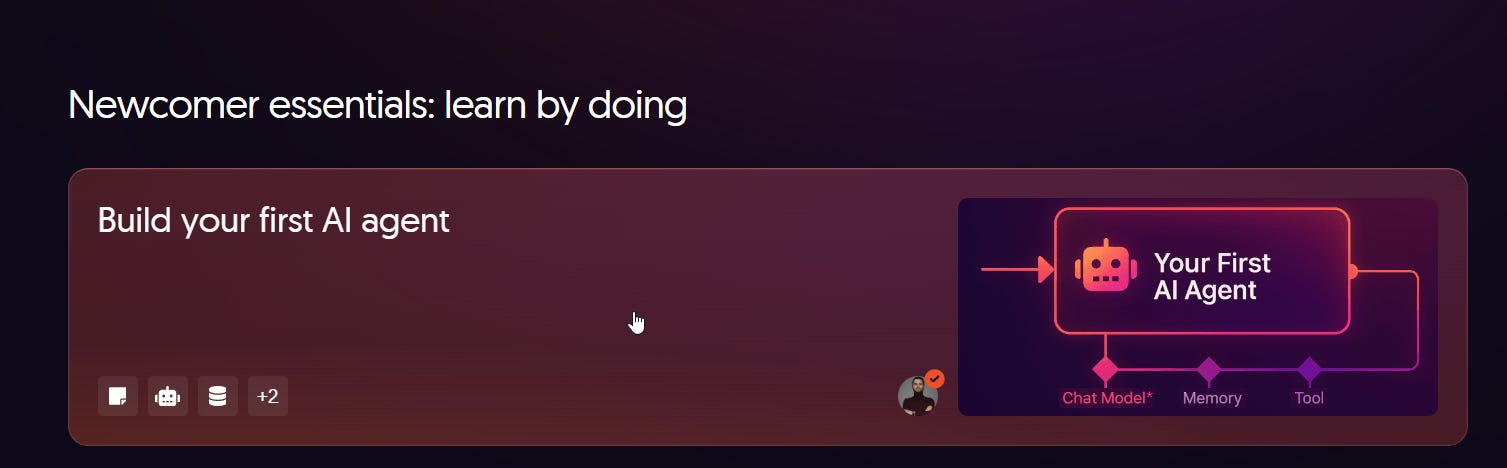
Or you can use this link instead: https://n8n.io/workflows/6270-build-your-first-ai-agent/
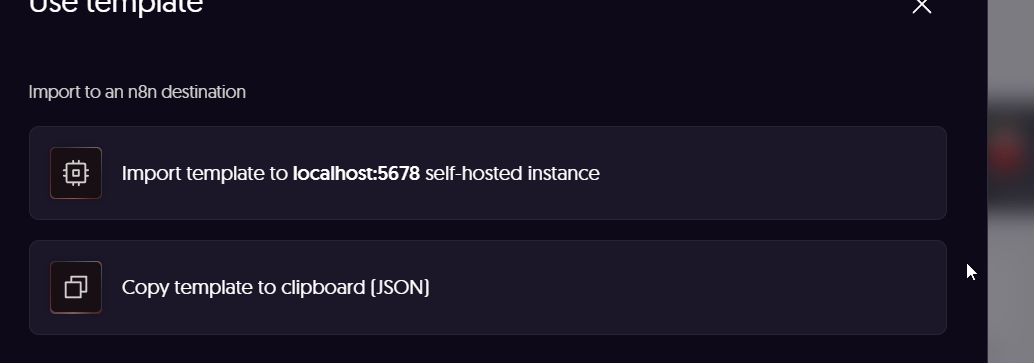
Here, if you’ll have the first option available, just press on that. If you only see the copy template option, then press that and in your n8n workflow, press Create workflow and just paste it. Now we’re ready for the next step!
Now we can begin working with our workflow
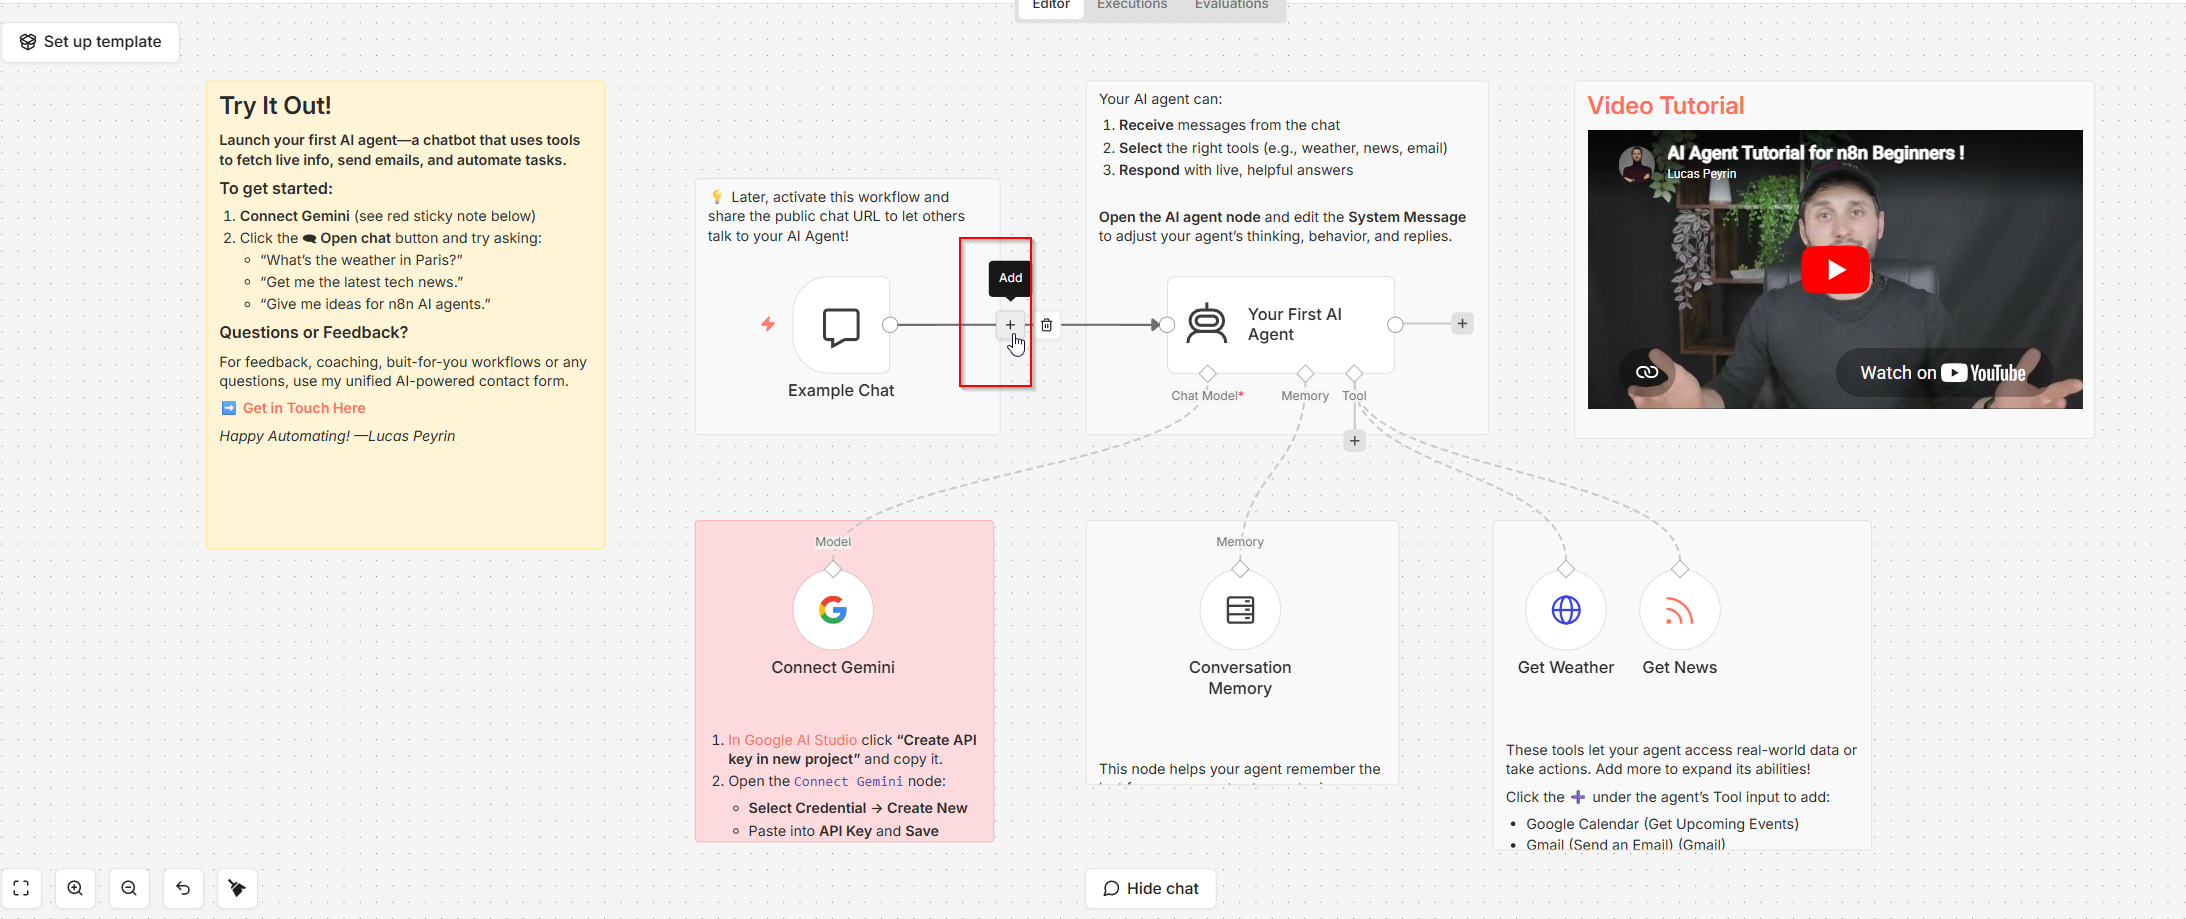
The way it works, we just add different nodes (or you can think of it like containers) to our workflow that perform different actions. For example, we can add a trigger node to trigger our workflow. It can be triggered by a certain time, or a certain action that we perform. We can also add a Send a message node, that will send a message to our selected device. So in this example that I’ll show you, you can think of it as pseudo code in a sense:
Trigger the action (for example, everyday at 4pm)
Fetch all of the articles from a news source
Use an AI model to summarise our articles
Send the final product to our Telegram account
And that’s it! Don’ worry, it’ll make more sense when we go through each of the steps.
Add a Schedule Trigger node
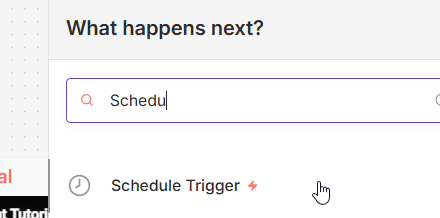
Once you add the node, double click on it and you can set it up the way that you like
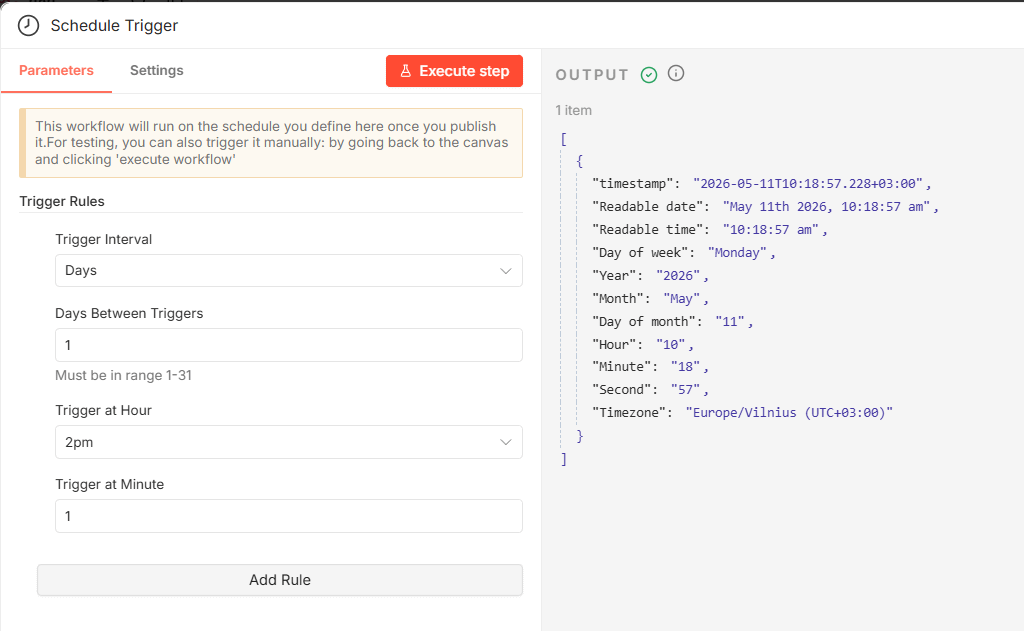
For myself, I’ve set up to trigger it every day at 2:01pm. Once you’re happy with the parameters, press the Execute step button and you’ll see the output. Every time you create a new node, after the setup you can press the Execute step to make sure that your node parameters are set up correctly and working as intended.
Add a HTTP Request node
Now this is where it might get a bit confusing as it requires a bit more patience.
So for my mini AI agent, I want to fetch my articles form The Guardian. And in order to do that, I need an API key and a URL address.
So register for a developer key here: https://open-platform.theguardian.com/access/
And once you retrieve it, you can use an example URL like this:
https://content.guardianapis.com/search?order-by=newest&show-fields=headline,trailText&api-key=YOUR_API_KEY_HERE&page-size=5
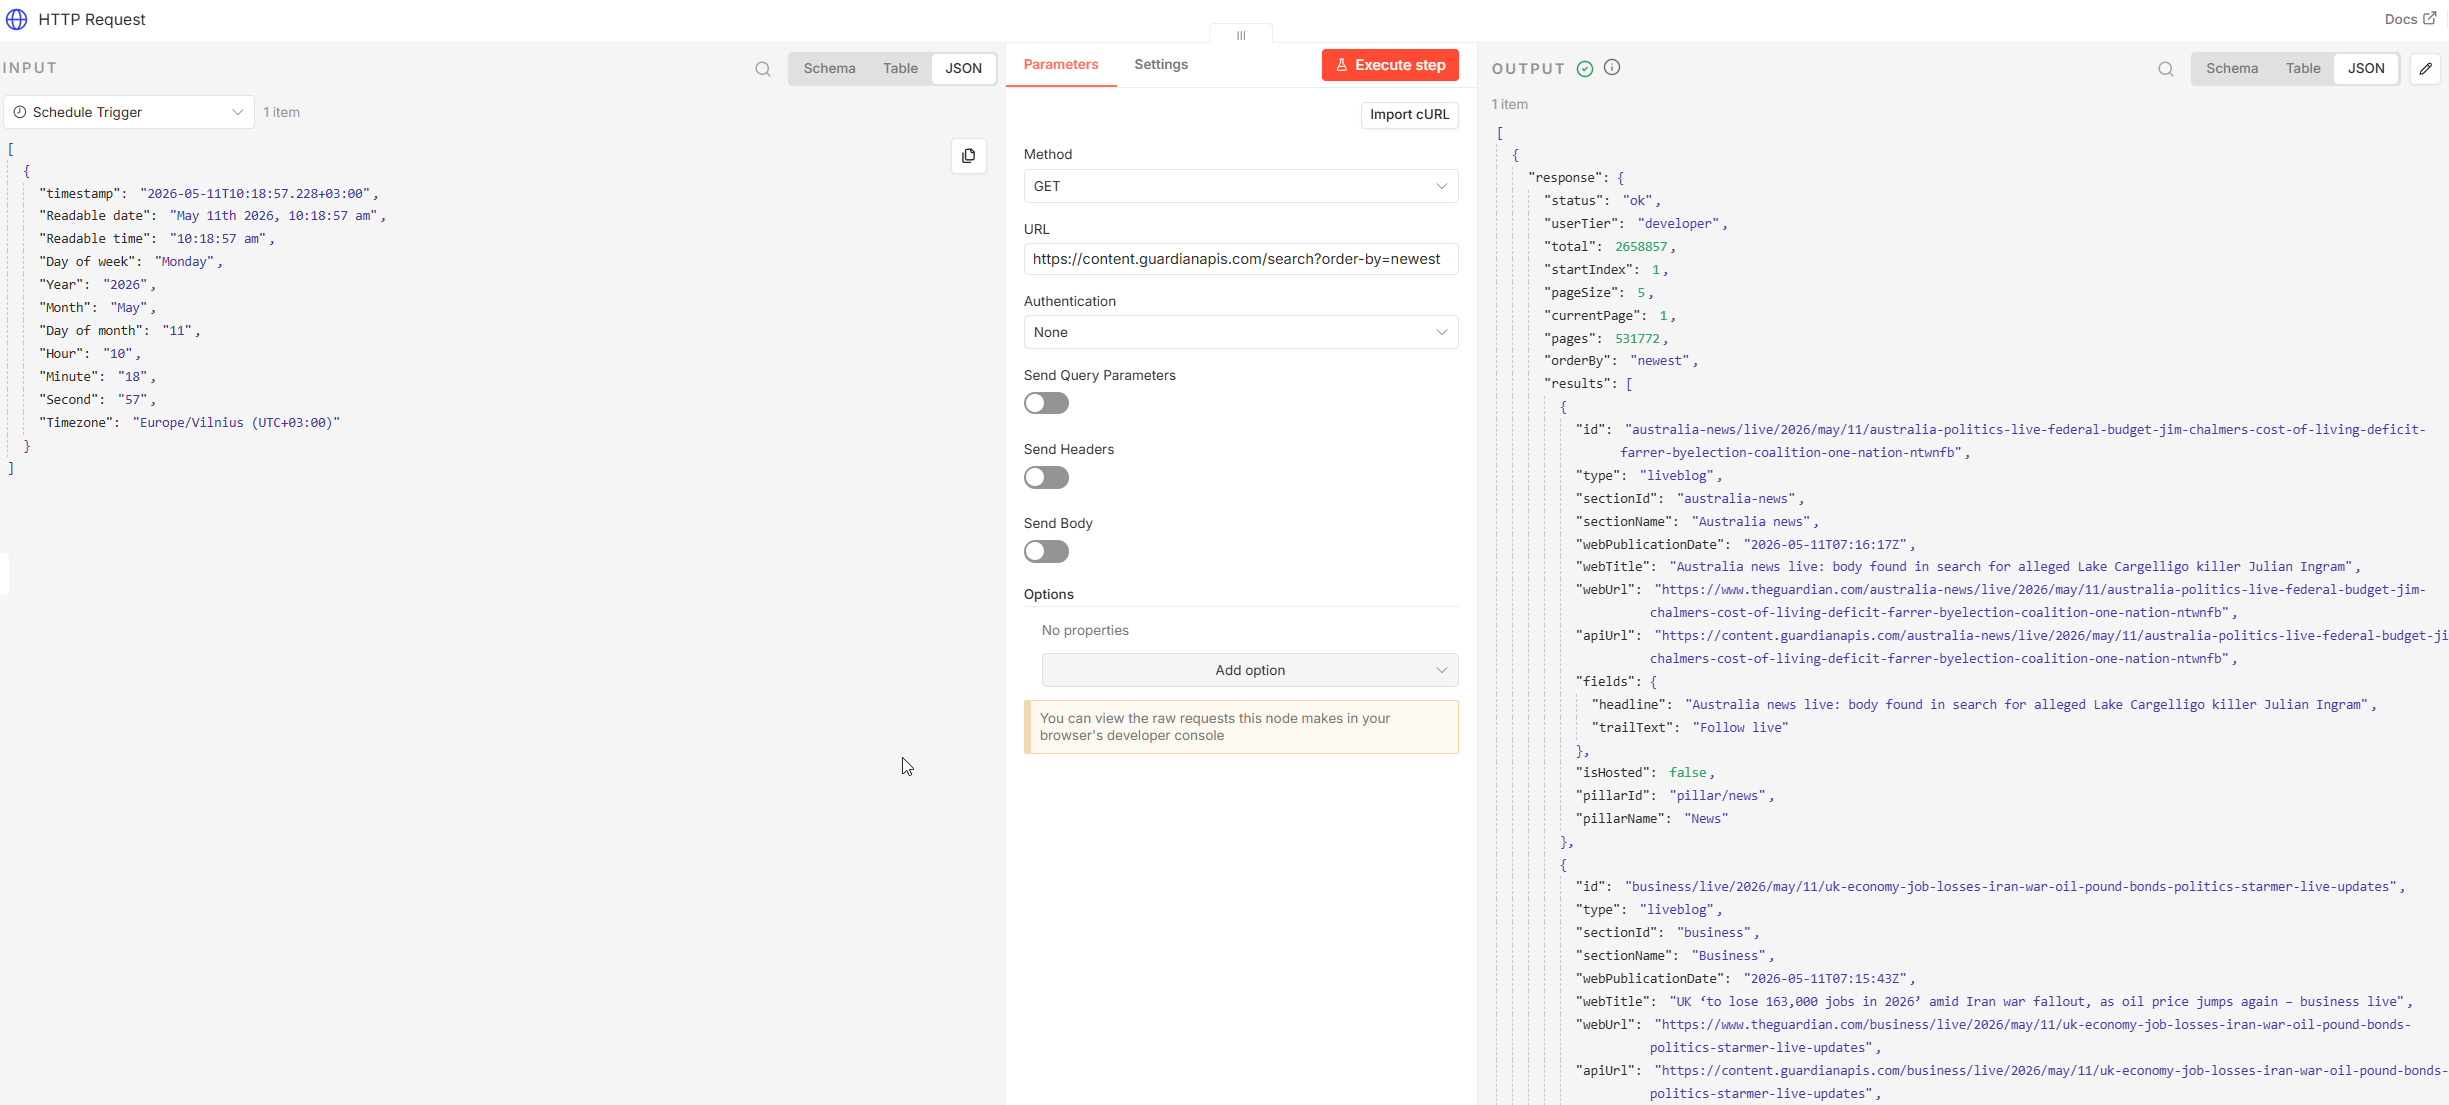
This fetches the latest headline articles from the Guardian. Select your method as GET and in your URL replace the API value with your API key that you’ve just retrieved. Then test it out if everything is working in order by executing the step.
Now add a new node: AI —> Google Gemini —> Message a model
Here, you can use different AI models of course. But I’ll show you how to connect Google Gemini.
So go to Google AI Studio —> https://aistudio.google.com/app/api-keys and click on Create API key. Once you do it, take note of your API key.
Then connect your credentials in the Message a model node. Use the host:
https://generativelanguage.googleapis.com
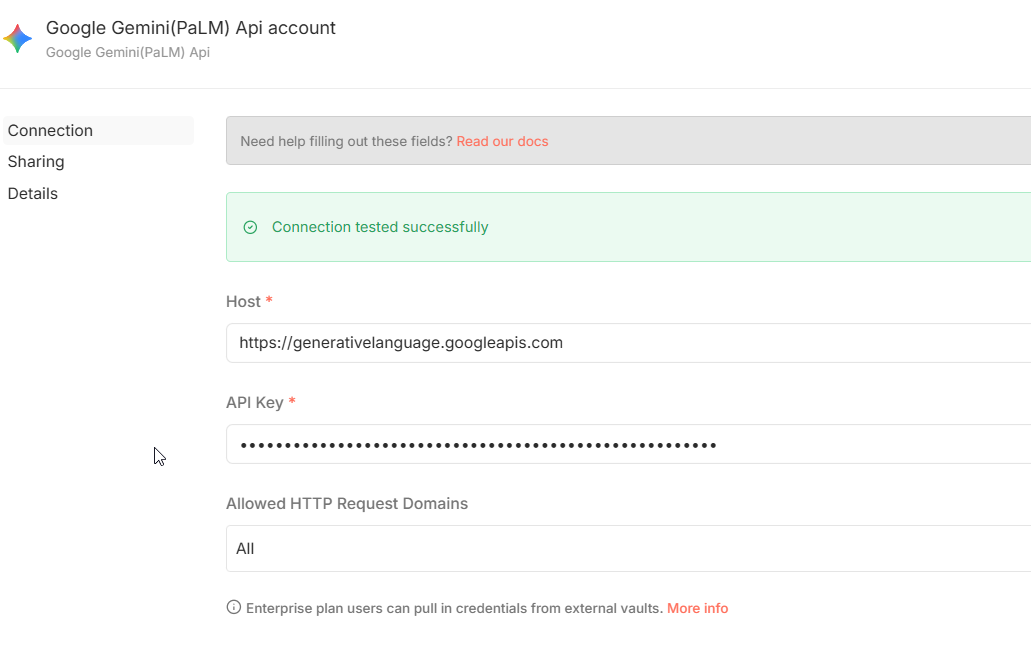
Done! Now, make sure you have these types of parameters in the node and of course, don’t forget to test it out by executing the step.
Messages —> Prompt:
Summarize the following articles into a clean Telegram message.

- Use bullet points
- Keep it under 120 words
- Remove the "Here is your briefing" intro

Articles:
{{ $json["response"]["results"].map(a => a.webTitle + ": " + a.fields.trailText).join("\n\n") }}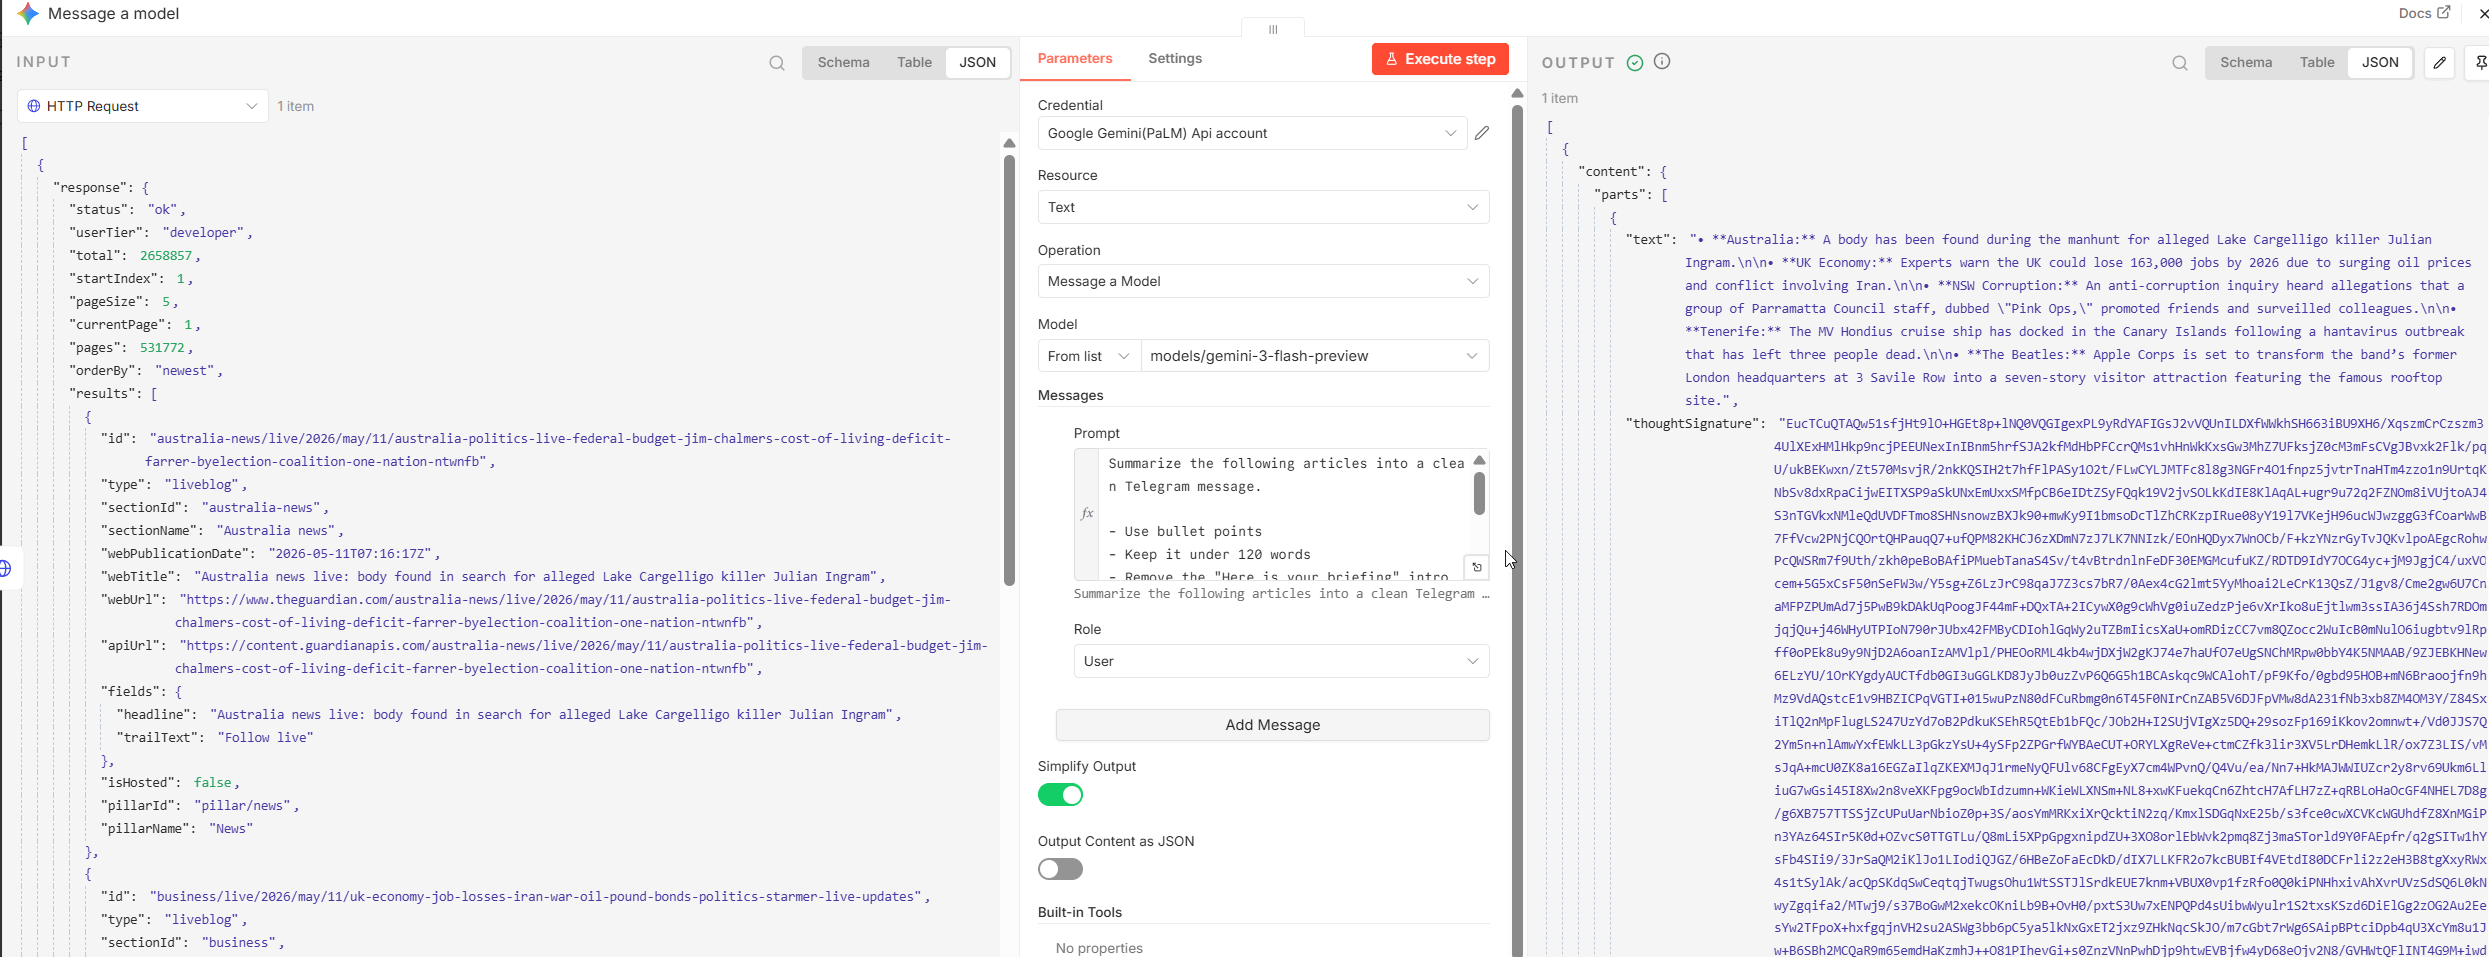
Set up your Telegram account
Now we’re very close to the end! First, add your final Send a text message Telegram node.
Then, go to your Telegram app and type in BotFather.
Type in /start and /newbot
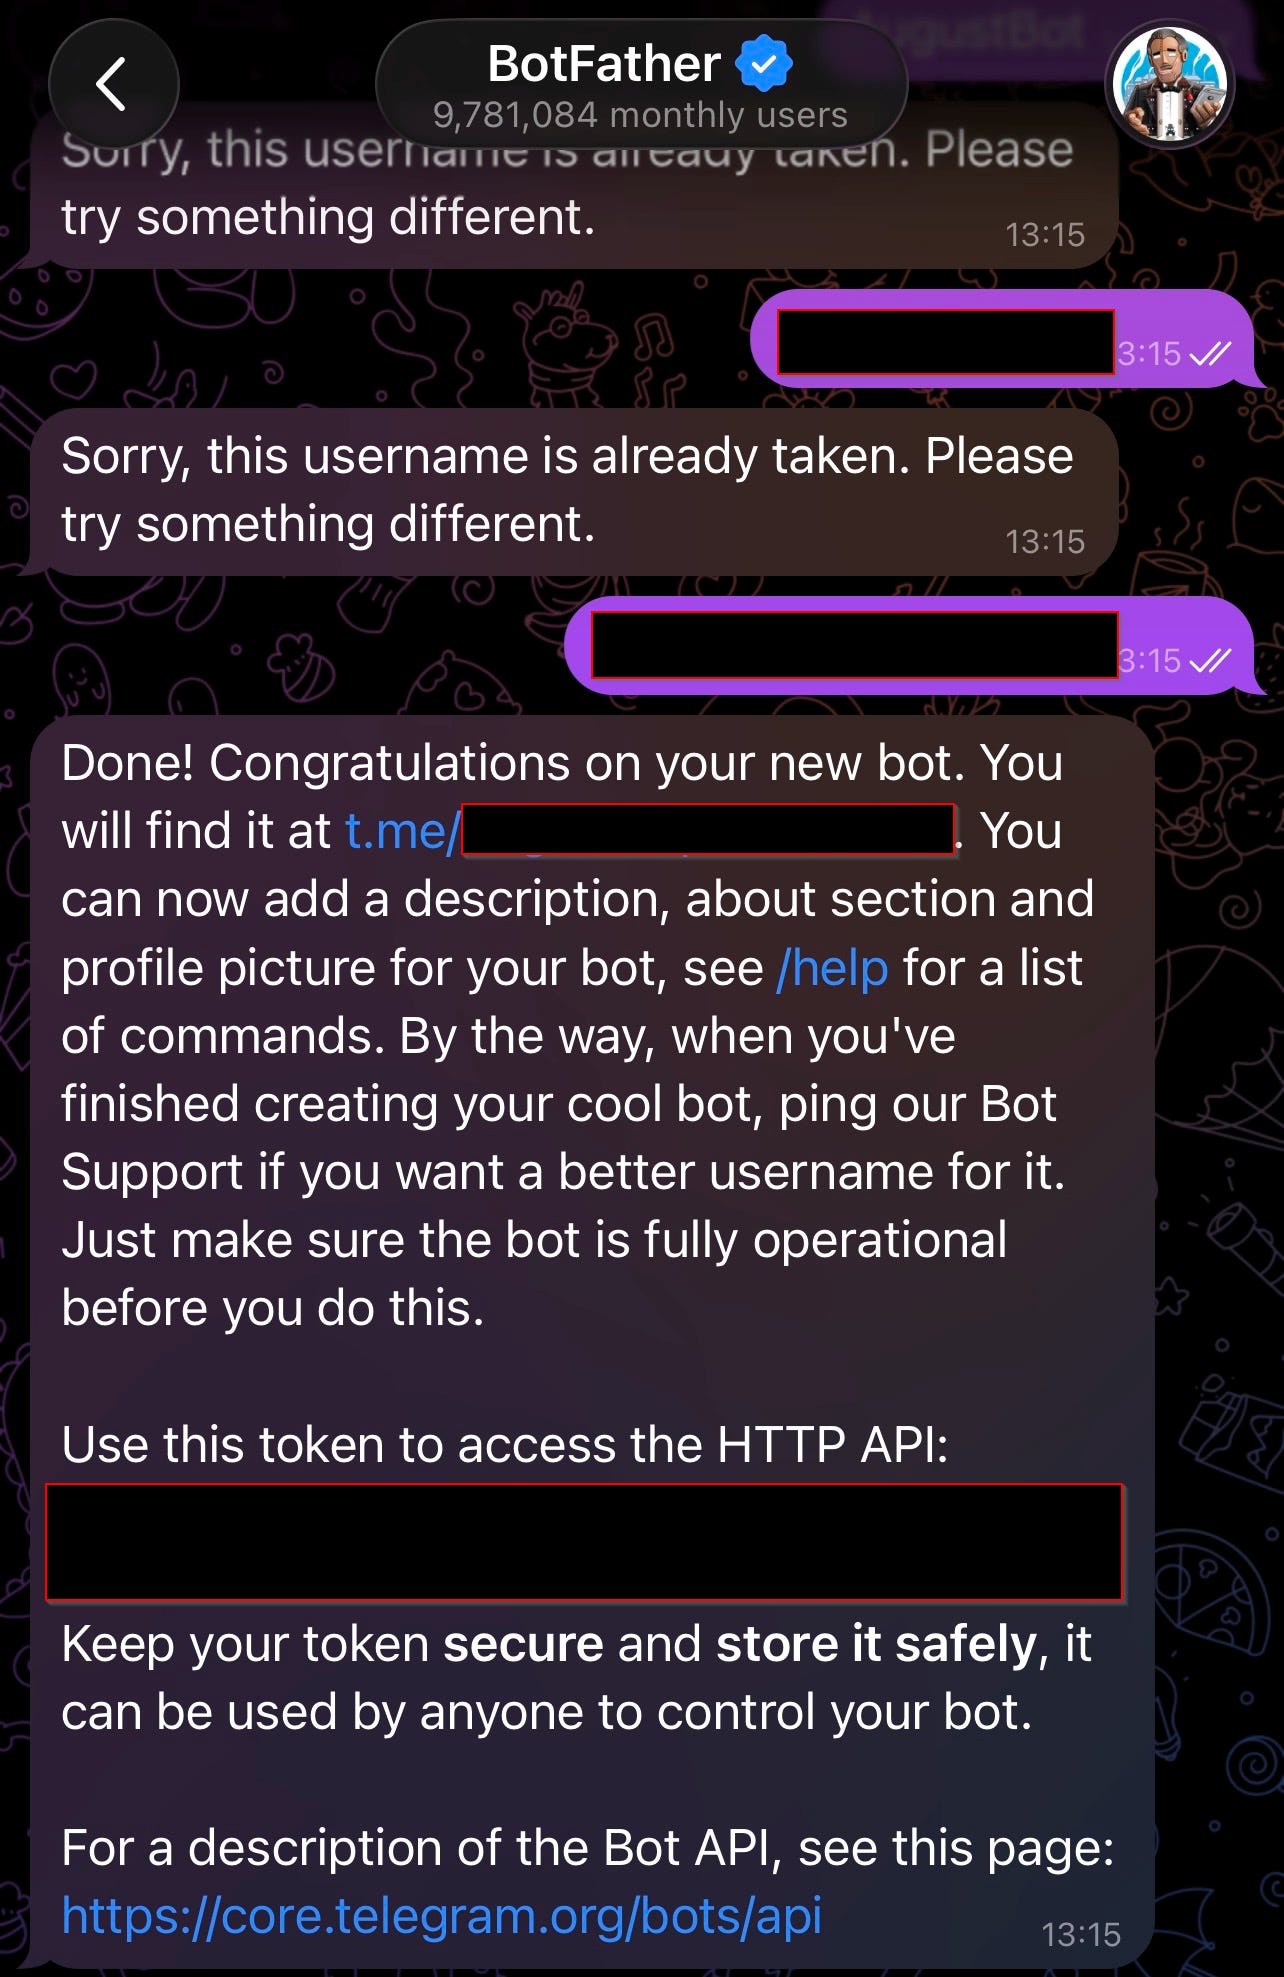
Once you’re done, make note of your API key. You can use that to connect your Telegram account in the Telegram account node:
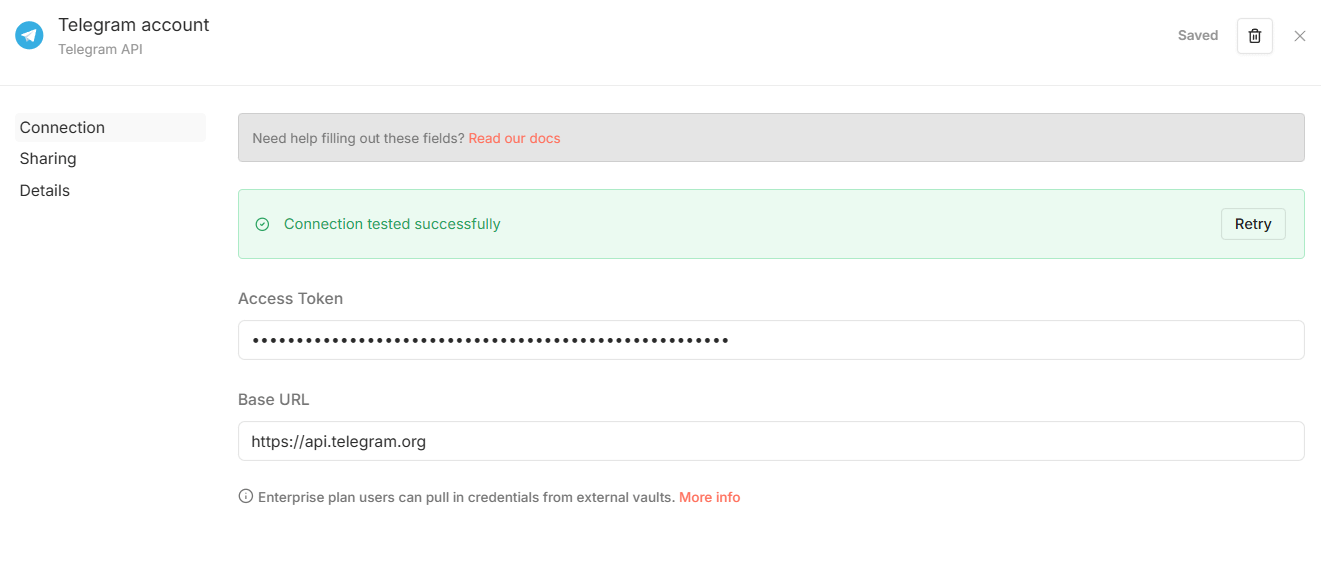
Afterwards, find the userinfobot on your Telegram.
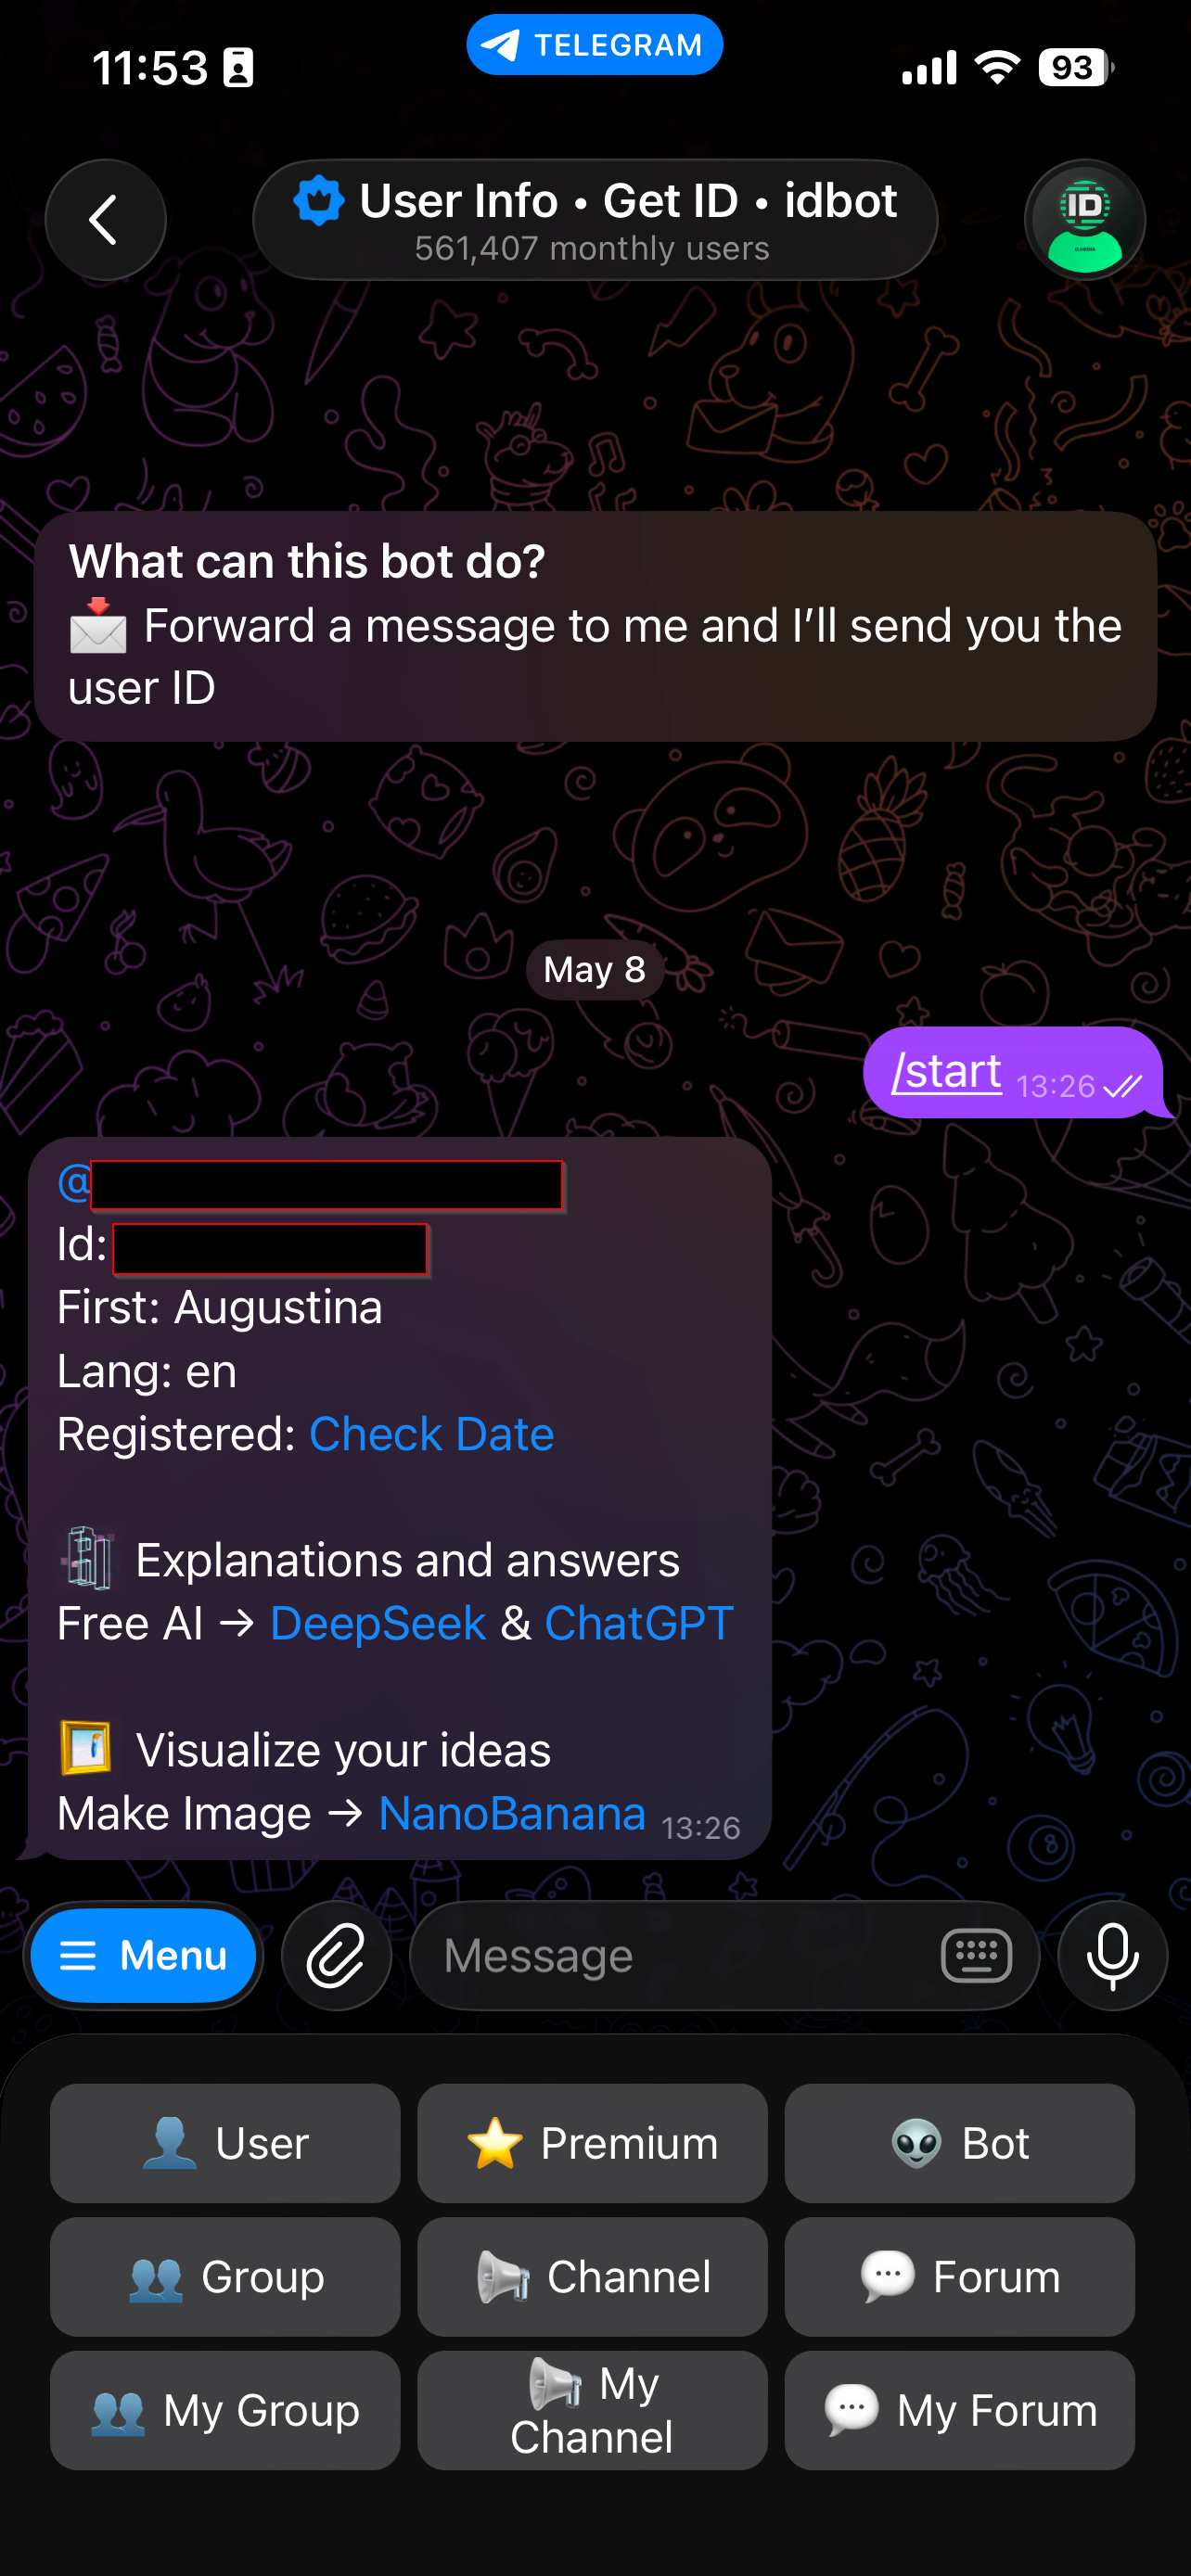
Make note of your id. That is the ID number you need to input as Chat ID in your Telegram node.
Use this for your text output:
{{ $json[”content”][”parts”][0][”text”] }}
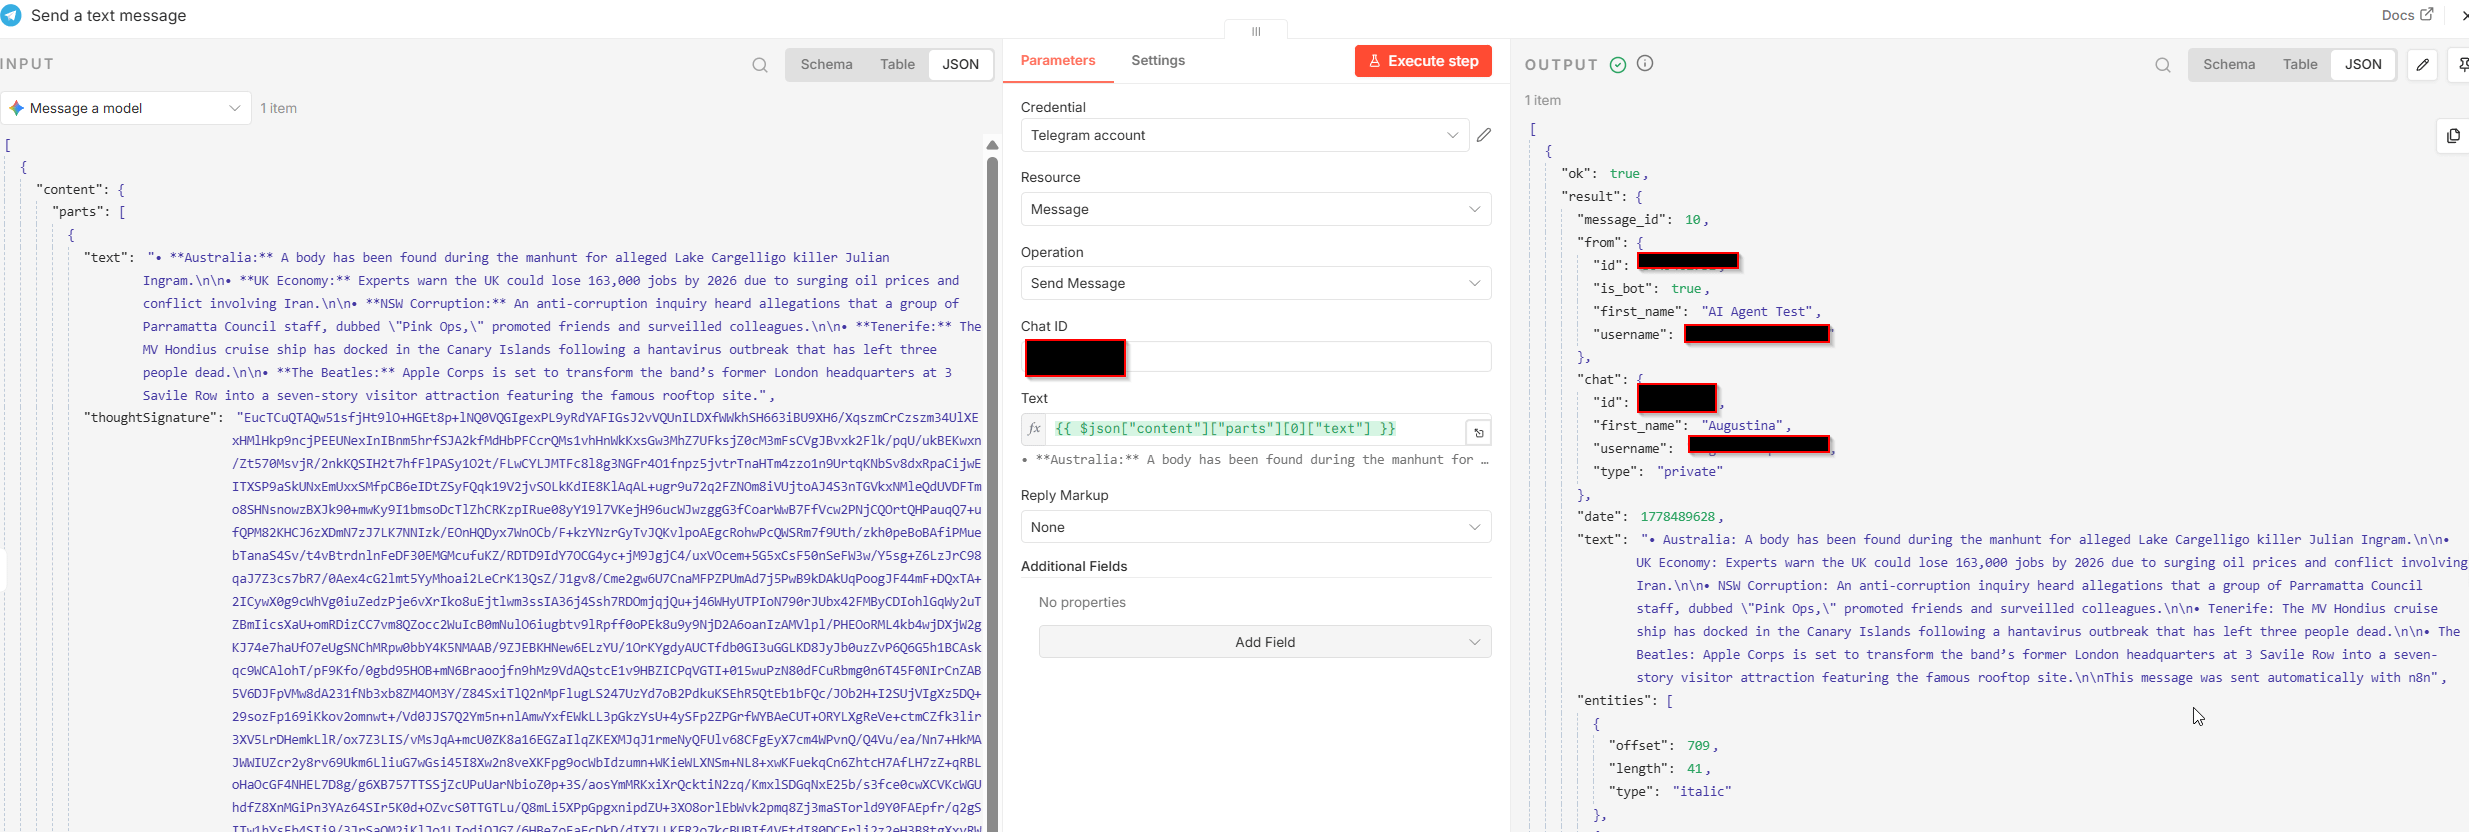
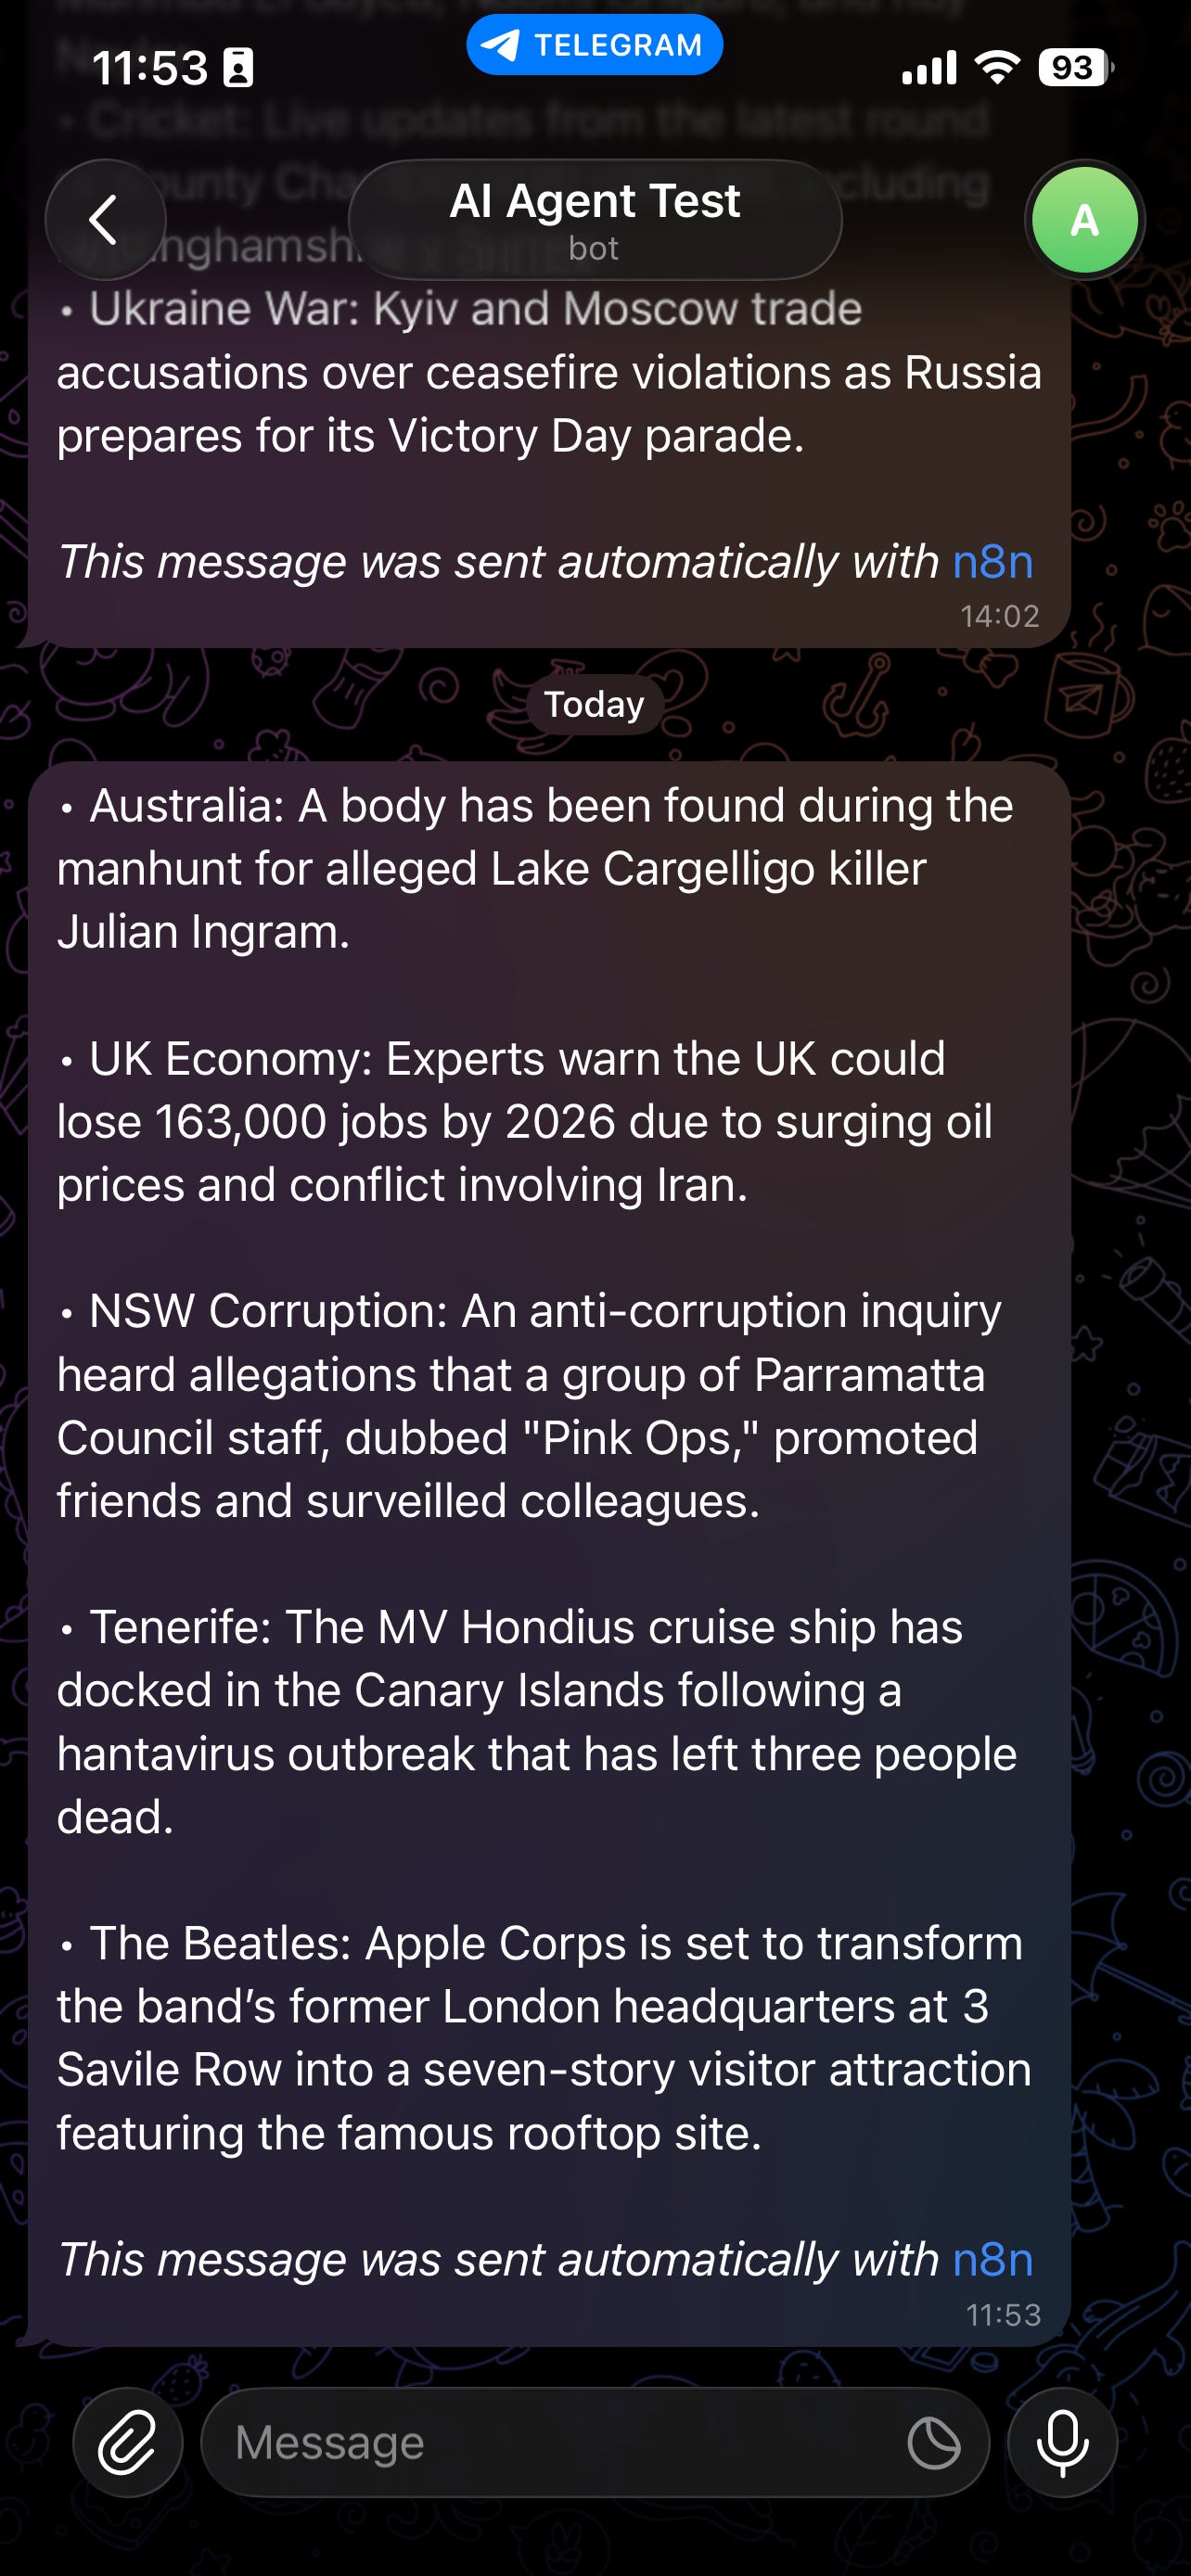
And you’re done! You should’ve received a summary of the main articles in your Telegram:
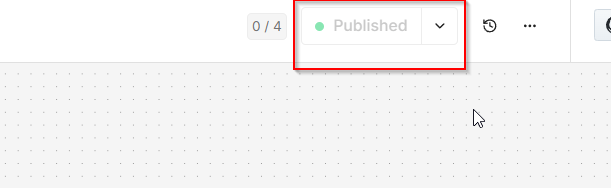
Don’t forget to publish your workflow so your AI agent actually works
You can of course alter the message and display it more neatly. I’d add a link to the article, display a picture, include a few bullet points per article. You should be able to do it by altering the Text parameter in your Telegram node, or you can simply add an additional node (maybe a Code node) to edit the text and display how you want to.
But here, I wanted to show the very basics and how simple it can be to build your first AI agent!
Ideally, you’d want to setup a VPS so your n8n workflow runs 24/7. Because in this example, we are running the workflow locally so once that laptop is off, your AI agent is not going to work :(
But maybe that’s a lesson for next time.
Now that you know the basics, imagine what you can do! You can setup an agent to organise your emails, to actually pay your bills and automate lots of different issues that you have in your life. And it’s not too complicated, just takes a little bit of time and patience.